- Mindful sketching is about observation, not perfection: The primary goal is to engage your senses and quiet the mind, rather than producing a gallery-quality painting.
- Start with simple tools: You do not need expensive equipment. A basic sketchbook and a couple of graphite pencils are sufficient to begin exploring the anatomy and movement of birds.
- Accessibility and comfort are paramount: Choose locations with stable seating, flat paths, and nearby facilities to ensure your sketching session remains a relaxing, sustainable habit.
The Art of Mindful Bird-Sketching: A Practical Guide to Focus and Flow
Mindful bird-sketching is a practice that combines the quiet observation of nature with the rhythmic, focused act of drawing. For many adults, this hobby serves as a gateway to “flow”—a mental state of deep immersion where the stresses of daily life fade into the background. Unlike competitive activities, sketching birds is an inherently personal pursuit where the process of seeing and recording takes precedence over the final result. By slowing down to observe the curve of a wing or the tilt of a head, you engage your brain in a form of active meditation that sharpens your focus and enhances your appreciation of the natural world.
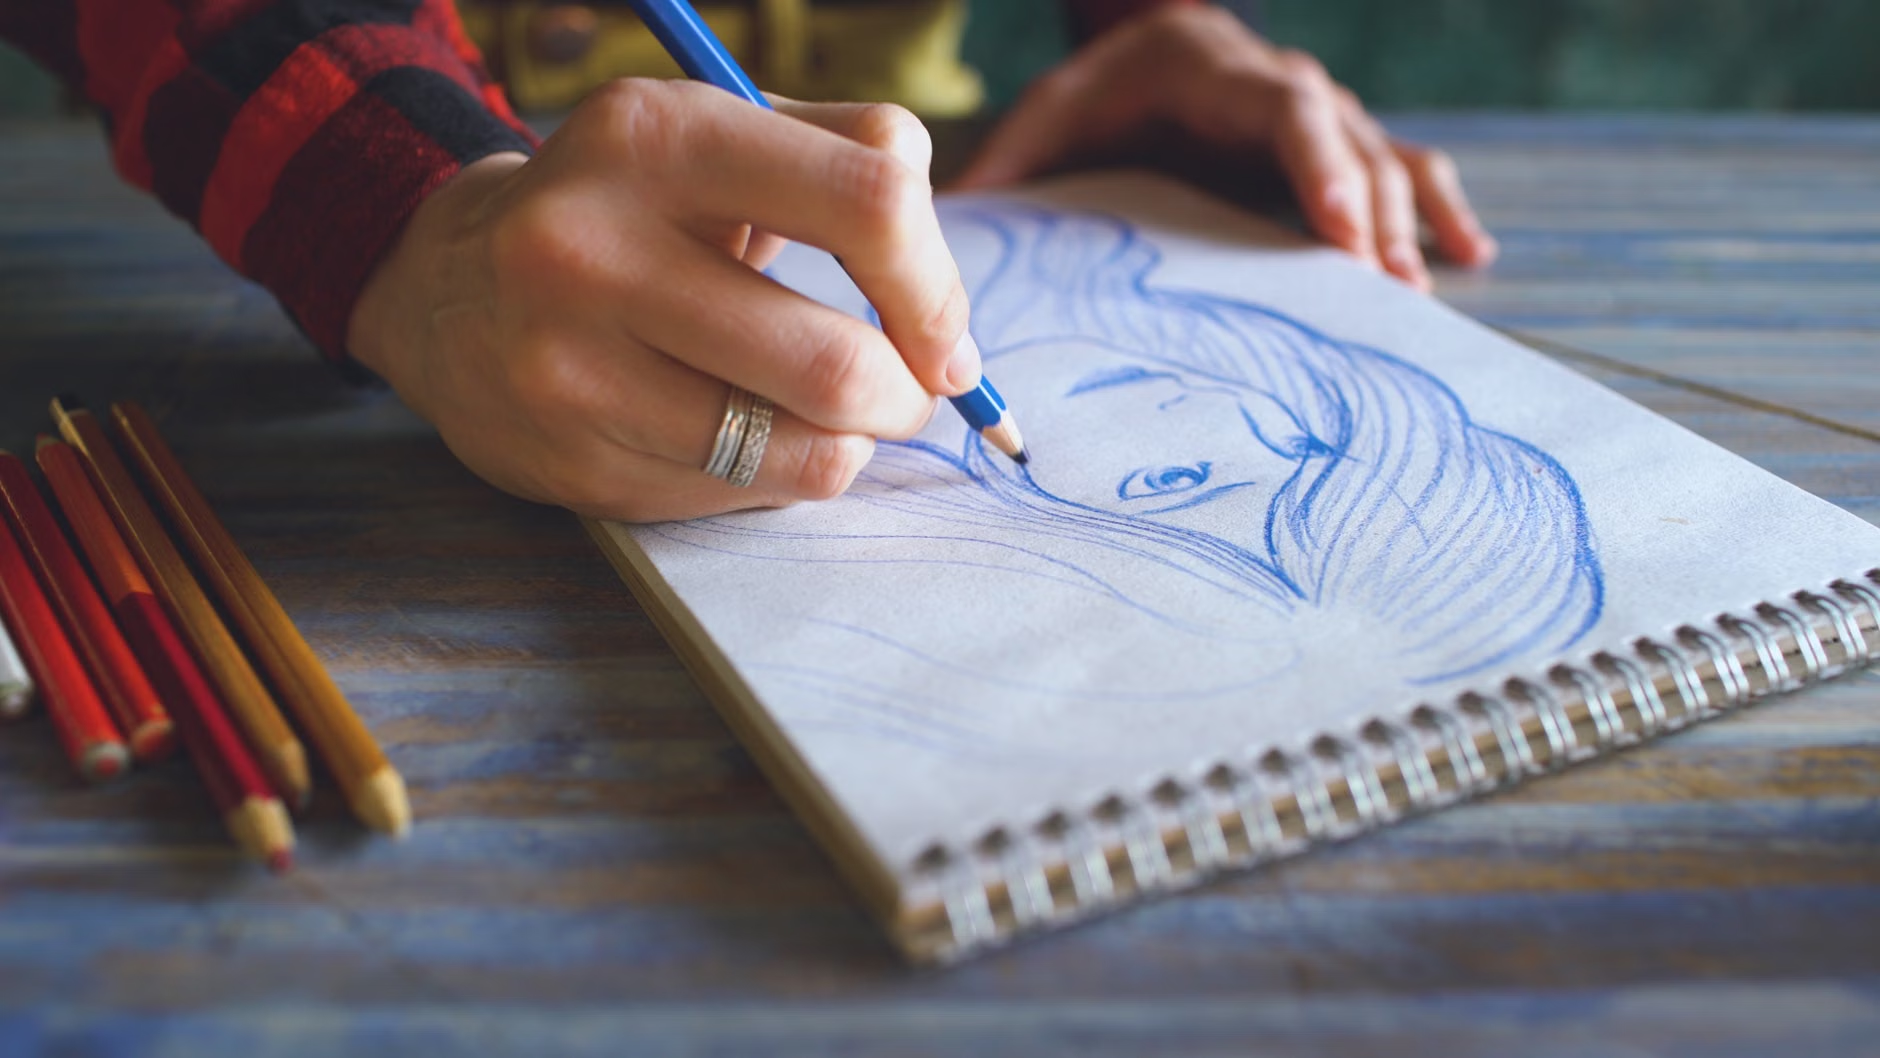
Understanding the Philosophy of Mindful Observation
At its core, mindfulness is the act of being fully present in the current moment without judgment. When applied to bird-sketching, this means letting go of the expectation that your drawing must look like a photograph. Instead, you are capturing the “essence” of the bird. This shift in perspective is crucial for adults who may feel pressured to perform or “get it right.”
Why does this matter? Research suggests that creative activities can significantly lower cortisol levels and improve cognitive flexibility. When you observe a bird, your brain is actively processing movement, light, shadow, and texture. This is a high-level cognitive workout disguised as a leisure activity. By focusing on the subject rather than the paper, you transition from “thinking” to “seeing,” which is the hallmark of the mindful state.
Equipping Yourself for Success
One of the greatest barriers to starting a new hobby is the fear of needing expensive or complicated equipment. For bird-sketching, the barrier to entry is remarkably low. You do not need a professional studio or high-end paints. In fact, keeping your kit simple is often better for consistency.
The Essential Starter Kit
To begin, focus on portability and ease of use. A heavy, complex setup will likely stay in your closet. Instead, aim for a “grab-and-go” bag.
| Item | Why it is useful | Selection Criteria |
|---|---|---|
| Sketchbook | Acts as your visual diary. | Choose a size that fits in your bag (A5 is ideal) with paper thick enough to prevent pencil smudging. |
| Graphite Pencils | Allows for varying line weights. | A set containing a 2B (softer, darker) and an HB (standard) is perfect for beginners. |
| Eraser | Corrects mistakes without stress. | A soft, white vinyl eraser is gentle on the paper and leaves minimal debris. |
| Binoculars | Brings the subject into focus. | Look for 8×42 binoculars; they offer a wide field of view, making it easier to find birds in motion. |
Practical Tip: If you have limited mobility in your hands or wrists, choose thicker triangular-shaped pencils, which provide a better grip, or attach a foam pencil grip to your standard pencils to reduce strain during longer sessions.
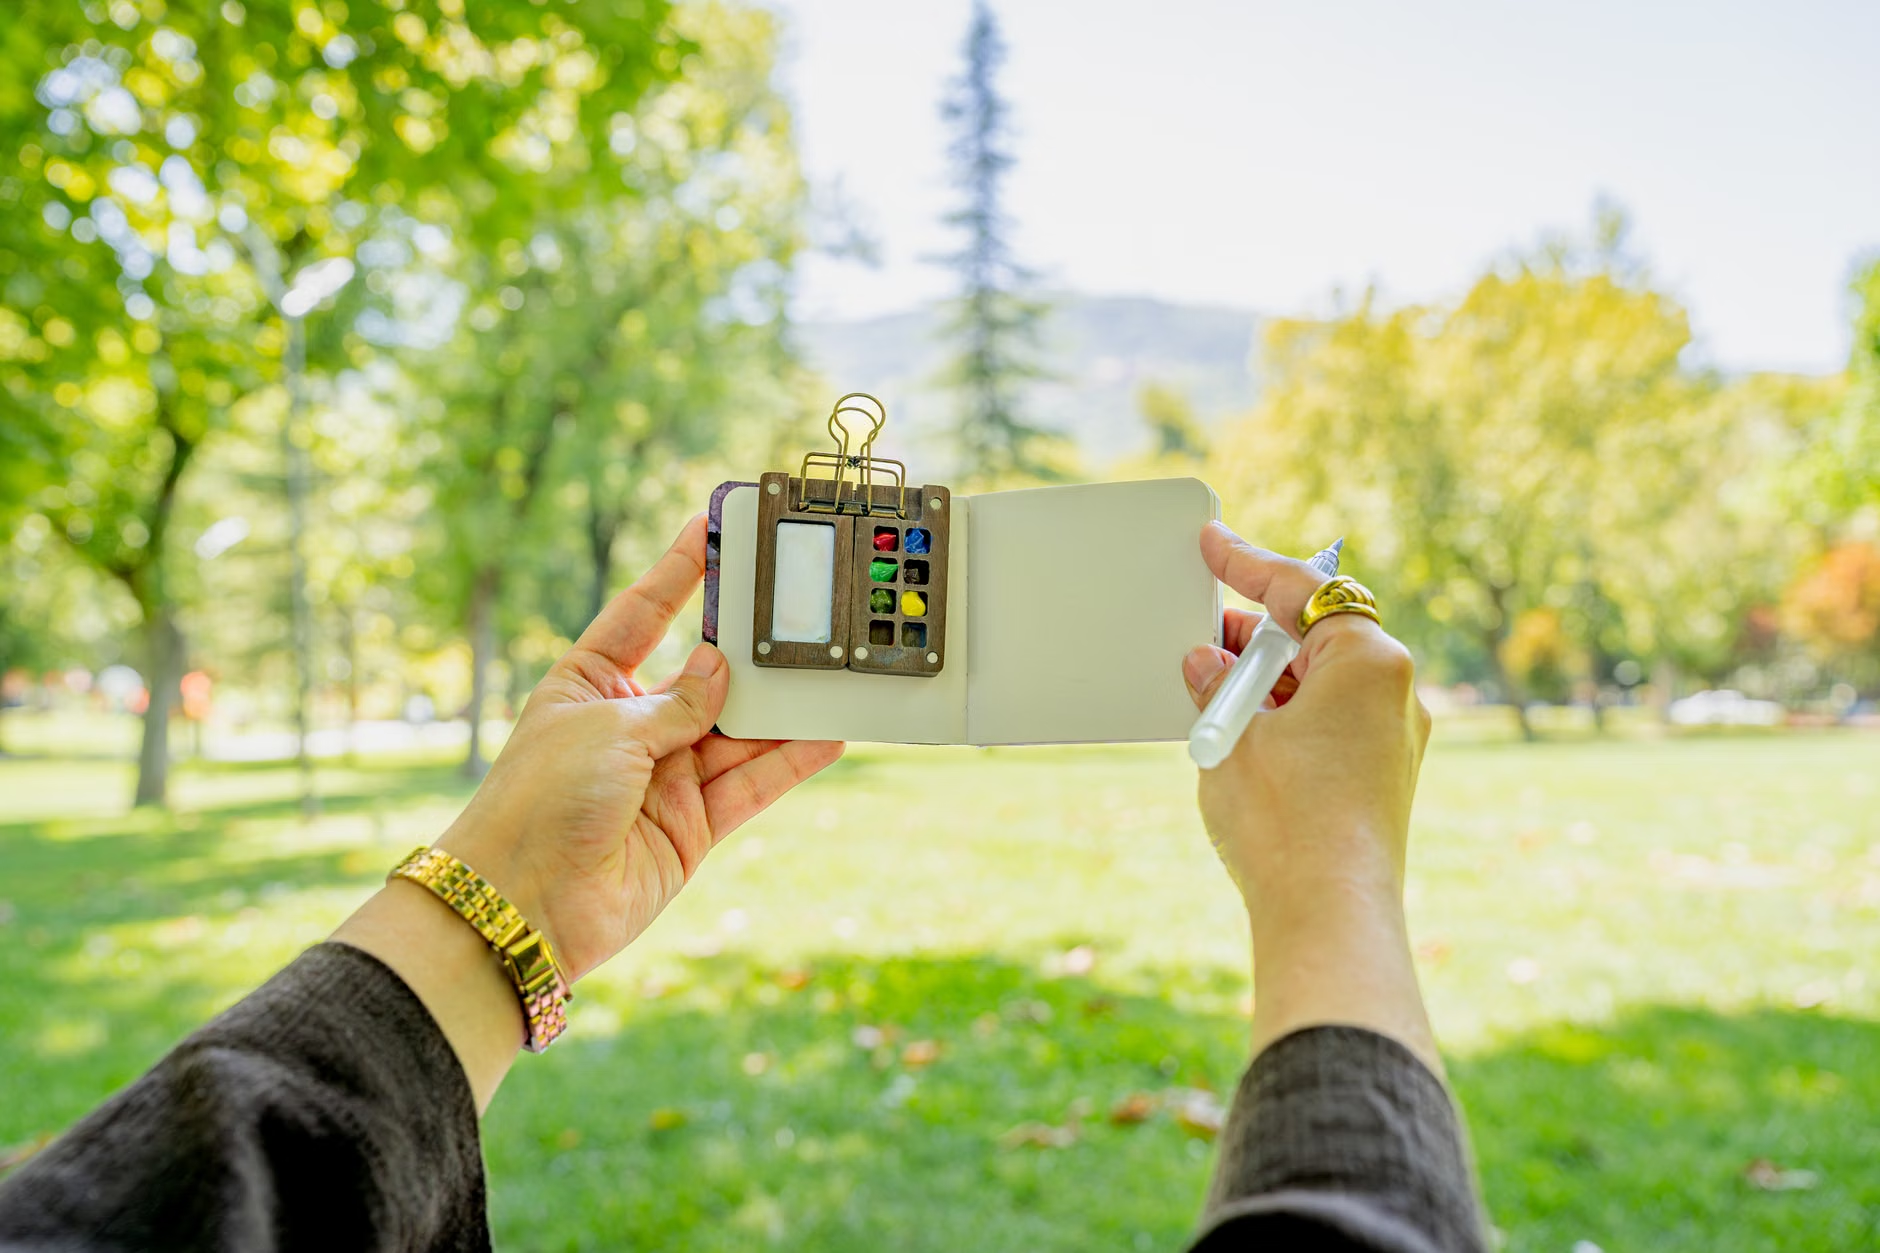
Selecting Your Sketching Environment
Your environment dictates the quality of your experience. As an older adult, you must prioritize physical comfort and accessibility to ensure the activity remains enjoyable rather than physically taxing.
Criteria for a Suitable Location
- Accessibility: Ensure the location has paved or level paths. Avoid areas with steep inclines or uneven terrain that could pose a trip hazard.
- Seating: A stationary bench or a dedicated outdoor chair is essential. Avoid standing for long periods, as it can cause fatigue and compromise your steady hand.
- Facilities: Always choose a spot within reasonable distance of a restroom and a place to get water or a warm drink.
- Lighting: Position yourself with the sun to your back or side, never facing it directly, to prevent glare on your sketchbook and eye strain.
If you are new to this, start in your own backyard or a familiar local park. You do not need to travel to a nature reserve to find subjects. Common garden birds—like sparrows, robins, or finches—are excellent subjects because they often return to the same perches, giving you time to observe their habits.
A Step-by-Step Approach to Your First Sketch
Many people feel paralyzed by a blank page. The trick is to break the process into manageable, non-intimidating steps. Remember, you are not drawing a bird; you are drawing a series of shapes that happen to look like a bird.
- The Observation Phase (3-5 minutes): Before you touch the pencil to paper, just watch. Does the bird flick its tail? Is it round and plump, or sleek and elongated? Notice the angle of the beak.
- The “Gesture” Line: Lightly draw a single line that follows the curve of the bird’s spine. This gives your sketch energy and movement.
- The Basic Shapes: Most birds can be broken down into two or three shapes: a circle for the head, a larger oval for the body, and a triangle for the wing. Draw these very lightly.
- Refining the Details: Once the shapes are in place, start connecting them with darker lines. Focus on the eye—that is the “soul” of the bird. Once the eye is placed, the rest of the drawing usually falls into place.
- The “No-Judgment” Conclusion: When you finish, resist the urge to critique your work. Acknowledge that you spent 20 minutes observing nature, which is a success in itself.

Overcoming Common Challenges
Even with the best intentions, you may encounter obstacles. Addressing these proactively will help you maintain your practice.
Managing Eye Strain
If you find that your eyes tire quickly, follow the “20-20-20 rule.” Every 20 minutes, look at something at least 20 feet away for 20 seconds. This relaxes the focusing muscles in your eyes. Additionally, ensure your sketchbook has high-contrast paper—avoid cream-colored paper if you struggle with low-light visibility.
Dealing with “The Wobbly Line”
As we age, our hands may not be as steady as they once were. Do not view this as a failure. In fact, a “wobbly” or “sketchy” line often adds character and a sense of movement to a drawing. If you find it difficult to draw straight lines, lean into it. Use short, light, overlapping strokes rather than one long, continuous line. This technique is actually a professional artistic style often called “hatching” or “gestural drawing.”
Stamina and Pacing
Do not feel obligated to complete a sketch in one sitting. If you have low stamina, limit your sessions to 15 minutes. It is better to sketch for 15 minutes twice a week than to try for two hours once a month and end up exhausted. Listen to your body; if your shoulders or neck begin to ache, it is time to take a break or stop for the day.
The Deeper Benefit: Connectivity and Mental Health
Beyond the artistic output, bird-sketching fosters a connection with the local ecosystem. You begin to notice migration patterns, changes in seasonal behavior, and the subtle differences between species. This “nature-connectedness” is strongly linked to improved mental well-being in later life. It provides a sense of continuity and observation that is grounding.
Furthermore, this hobby can be a social bridge. Joining a local birding group or a sketching club can provide opportunities for social interaction without the pressure of having to maintain constant conversation. You can enjoy the presence of others while focusing on your own quiet, creative work.
Safety and Practical Considerations for the Senior Sketcher
While bird-sketching is a low-impact activity, safety should always remain a priority. When planning your outings:
- Weather Check: Always check the forecast. Avoid days with high wind, which can make it difficult to hold your sketchbook steady, or extreme heat, which can lead to rapid dehydration.
- Hydration and Nutrition: Carry a bottle of water and a light snack. Drawing requires focus, and maintaining stable blood sugar levels will help you keep your concentration throughout the session.
- Communication: If you are heading to a remote park, let a family member or caregiver know where you are going and when you expect to return. Carry a mobile phone for emergency contact.
- Footwear: Always wear supportive, slip-resistant shoes, even for short walks to a garden bench.
Integrating Technology: Is it Necessary?
You may wonder if you should use apps to help identify the birds you see. There are excellent digital resources, such as the Cornell Lab of Ornithology’s All About Birds, which can help you identify species. However, be cautious about letting technology dominate your time. The goal is to spend time in nature, not on your screen. Use your phone only as a reference tool to confirm what you have seen, then put it away and return to your sketchbook.
Conclusion: The Value of the Journey
The joy of mindful bird-sketching lies in the permission to be slow. In a world that often demands speed and efficiency, taking the time to sit with a pencil and paper to observe the natural world is a radical and restorative act. Whether your sketches are detailed masterpieces or rough outlines of movement, they are a testament to your focus and your presence. Start small, keep your tools accessible, and remember that every line you draw is a way of paying attention to the beauty surrounding you.
Your next step is simple: find a comfortable chair, grab a pencil, and go to your nearest window or garden. You do not need to leave your home to begin. Just look, breathe, and start with the simplest shape you can see. The rest will follow in time.
Frequently Asked Questions (FAQ)
1. Do I need to be good at drawing to start bird-sketching?
Absolutely not. The goal of mindful sketching is the process of observation, not the final artistic quality. Even if your sketches are just basic shapes, the act of focusing on the bird’s form is what provides the mental benefits.
2. How long should I spend sketching per session?
Start with 10 to 15 minutes. It is better to have a short, successful session than to push yourself to the point of physical discomfort. You can always increase the duration as your comfort and stamina improve.
3. What if I can’t identify the birds I am drawing?
Identification is not required for the practice of mindfulness. You can simply refer to them as “the bird with the yellow chest” or “the bird with the long tail.” If you eventually want to know the species, you can take a photo with your phone and look it up later, but don’t let the need for a name interrupt your flow while you are sketching.
Disclaimer: This article provides general information and does not constitute medical or professional advice. Always prioritize your physical comfort and consult with a healthcare professional regarding any concerns about physical activities or eye strain.