Pelvic stability is the cornerstone of independent mobility, balance, and fall prevention for adults aged 60 to 80. The seated hip abduction exercise is a highly accessible, low-impact movement that strengthens the gluteus medius—the muscle responsible for stabilizing the pelvis during walking and standing.
- Targeted Stability: Seated hip abduction specifically engages the gluteus medius, which prevents the pelvis from “dropping” during each step, a leading cause of gait instability.
- Accessible Safety: By performing this exercise while seated, you eliminate the risk of balance-related falls often associated with standing leg-strengthening exercises.
- Consistency Over Intensity: Achieving pelvic stability is not about muscle bulk; it is about consistent, controlled engagement of the hip stabilizers to improve daily functional movement.
Understanding Pelvic Stability and the Gluteus Medius
The pelvis acts as the “bridge” between your upper body and your legs. When you move, your pelvis must remain level to support your spine and keep your center of gravity stable. The gluteus medius, located on the outer side of the hip, is the primary muscle tasked with this role.
As we age, the cumulative effect of sedentary habits or reduced activity can lead to a phenomenon known as “gluteal amnesia” or general weakening of the hip abductors. When these muscles are weak, the pelvis may tilt or shift unnaturally when you lift one foot to take a step. This shift forces the lower back to compensate, often leading to chronic discomfort and an increased risk of tripping.
The seated hip abduction exercise allows you to isolate these muscles without the pressure of your body weight or the requirement for perfect standing balance. It is a foundational movement that prepares the body for more complex activities like stair climbing, walking on uneven surfaces, or simply getting in and out of a car.
The Anatomy of the Movement: What Happens When You Abduct
In biomechanical terms, “abduction” refers to the movement of a limb away from the midline of the body. When you perform this while seated, you are training the muscles on the outer hip to contract against resistance. Unlike standing exercises, the seated variation provides a fixed base of support, ensuring that your spine remains neutral throughout the movement.
Many adults assume that hip strength is built solely through walking. However, walking primarily uses the muscles that move the leg forward and backward (flexors and extensors). It does very little to train the muscles that keep the hips from swaying side-to-side. This is why even active walkers can experience instability. The seated hip abduction fills this functional gap.
Step-by-Step Guide: Performing Seated Hip Abduction Safely
Before beginning, ensure you have a sturdy, armless chair. Avoid using chairs with wheels or swivel seats, as these introduce unnecessary instability.
| Step | Action | Key Focus |
|---|---|---|
| 1. Setup | Sit upright with your feet flat on the floor, hip-width apart. | Maintain a neutral spine; do not slouch. |
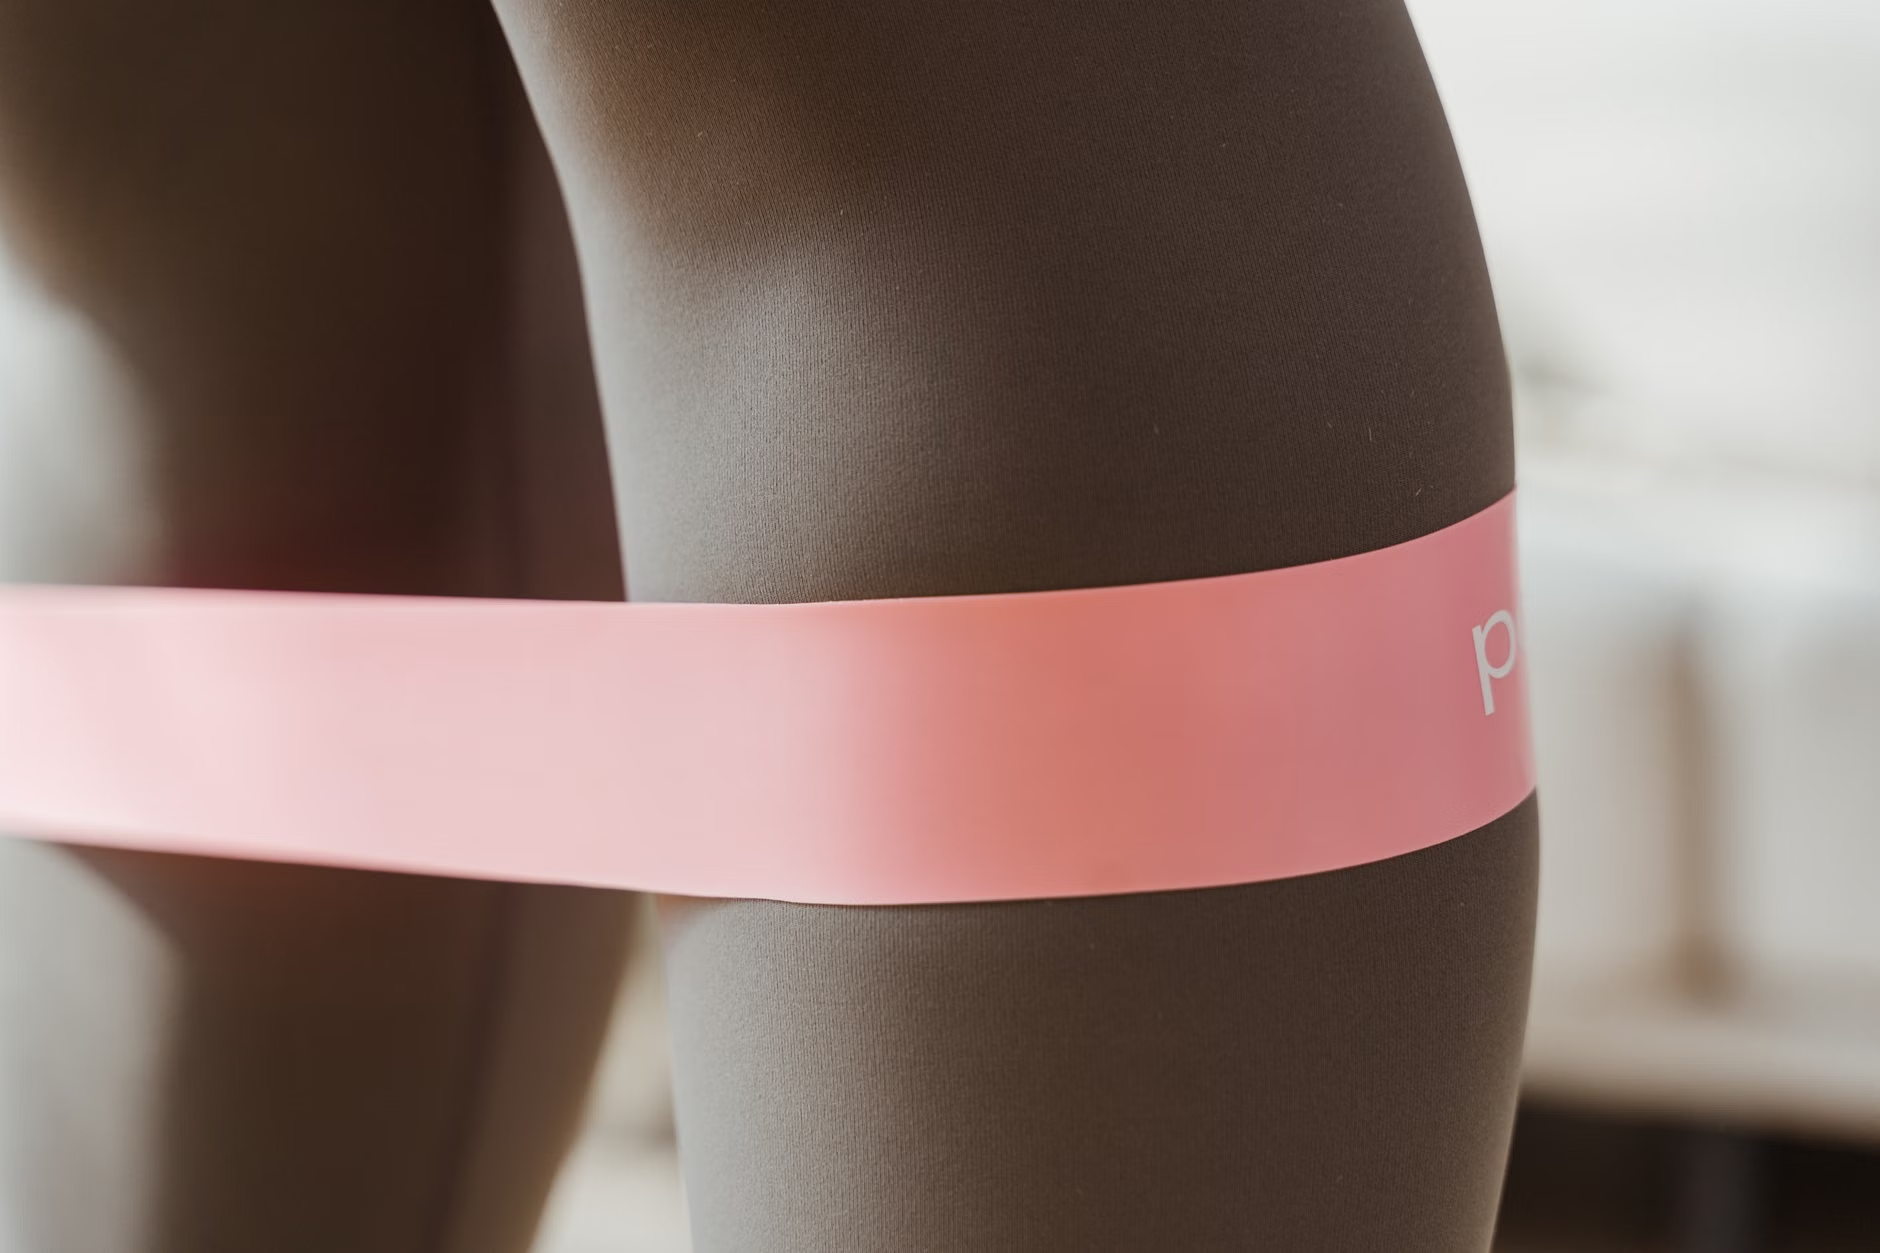
| 2. Resistance | Place a resistance band around your knees (optional for beginners). | Ensure the band is flat and not twisted. |
| 3. Movement | Slowly push your knees outward against the resistance. | Move only as far as you can without tilting your pelvis. |
| 4. Hold | Hold the outward position for 2-3 seconds. | Feel the engagement in the outer hip/buttock. |
| 5. Return | Return to the starting position in a slow, controlled manner. | Do not snap the knees back together. |
Progressing Your Routine
For those new to this exercise, start without a resistance band. Your goal is simply to master the mind-muscle connection—learning how to activate the side of your hip intentionally. Once you can perform 15 repetitions with perfect form, you may introduce a light-resistance loop band. As you advance, you can increase the resistance of the band, but never at the expense of your posture.
Common Mistakes and How to Avoid Them
Even simple exercises can be ineffective or counterproductive if performed with poor technique. One common mistake is “leaking” the movement into the lower back. If you feel your spine arching or your shoulders tensing, you are likely trying to move your legs further than your hip strength currently allows.
Another error is using momentum. The goal is muscle activation, not speed. If you find yourself bouncing your knees in and out, you are relying on gravity and momentum rather than the gluteus medius. Always perform the movement in a slow, four-second count: two seconds to open, two seconds to close.
Furthermore, avoid “rolling” your feet. Your feet should remain firmly planted on the ground throughout the exercise. If you notice your ankles rolling outward, it is a sign that you are overcompensating for a lack of hip strength. Focus on keeping your entire foot in contact with the floor.
Integrating Stability Training into Daily Life
Consistency is more important than duration. Integrating this exercise into your daily routine is easier than you might think. Many individuals find success by pairing the exercise with a sedentary habit they already have. For example, performing two sets of 10 repetitions while waiting for the morning coffee to brew or during a commercial break on television.
If you have concerns about your current physical condition, it is advisable to consult with a physical therapist or your primary care provider. They can provide a personalized assessment to ensure that your specific health history—such as hip arthritis, previous surgeries, or nerve-related issues—is accounted for in your exercise plan. You can prepare for this appointment by keeping a simple log of your daily activity levels and noting any specific movements that cause discomfort.
Beyond the Exercise: Maintaining Pelvic Health
While seated hip abduction is an excellent tool, it should be viewed as part of a broader strategy for pelvic health. Pelvic stability is also influenced by your environment and how you navigate it. Simple adjustments in your home, such as ensuring adequate lighting, removing tripping hazards like loose rugs, and using footwear with proper arch support, complement your exercise efforts.
Furthermore, consider the role of hydration and nutrition in muscle health. Muscles require adequate protein and hydration to repair and strengthen after exercise. While there is no “miracle supplement” for hip strength, maintaining a balanced diet that supports bone and muscle density is essential for adults in the 60-80 age bracket.
Understanding When to Seek Professional Guidance
While this exercise is generally safe for the majority of the population, there are signs that indicate you should pause and seek professional advice. If you experience sharp, shooting pain in the hip or groin, numbness in your legs, or a persistent “giving way” sensation when walking, these are not normal signs of muscle fatigue. They may indicate underlying issues such as bursitis, labral tears, or nerve impingement.
A physical therapist can perform a functional movement screen to determine exactly where your stability deficits lie. They may also suggest modifications to the seated hip abduction, such as using different angles or incorporating different types of resistance, based on your specific biomechanics.
Conclusion: The Path to Stable Movement
Pelvic stability is not a destination but a continuous process of maintenance. By incorporating seated hip abduction into your routine, you are taking a proactive step toward preserving your independence and confidence in movement. Remember that the goal is progress, not perfection. Listen to your body, respect your limits, and prioritize the quality of your movement over the number of repetitions. As you build strength in your hip stabilizers, you will likely find that other daily activities become easier, safer, and more enjoyable.
Frequently Asked Questions
1. How many times a week should I perform seated hip abduction?
For most seniors, performing this exercise 3 to 4 times per week is sufficient to see improvements in stability. It is important to allow your muscles time to recover between sessions, so avoid doing high-intensity sets every single day.
2. Can I use ankle weights instead of resistance bands?
While ankle weights provide resistance, they are generally not recommended for the seated hip abduction exercise. Ankle weights pull the leg downward, which can place unnecessary strain on the knee joint. Resistance bands are preferred because they provide lateral tension, which directly targets the gluteus medius without putting the knee at risk.
3. What should I do if I feel pain during the exercise?
If you feel sharp or persistent pain, stop the exercise immediately. Discomfort that feels like “muscle burn” is normal, but joint pain or nerve-related sensations are not. Assess your posture first to ensure you aren’t overextending; if the pain persists, consult your healthcare provider or a physical therapist before continuing.
Official guidance on physical activity for older adults can be found through the World Health Organization’s Guidelines on Physical Activity and Sedentary Behaviour.